
May 13th, 2020
DIY Shiplap Wall

We love a good shiplap wall for the texture and subtle design it offers and have installed numerous to date. Below is a run down of what we’ve used, how we did it and some tricks we’ve learned along the way!
Our first shiplap experience was in 2016 with the fireplace of our San Julian home. It was our first big remodel and we had our contractor install two of the three accent walls in the house. Pictured below, we attached 7” baseboard siding to the original brick fireplace and installed a piece of black leathered granite around the opening. We went for a moody feel with Dunn Edwards Charcoal Smudge paint.

We loved it so much we had our contractor install the same horizontal material in our dining room. Here we painted it Dunn Edwards Cool December to match the surrounding walls.

Now it was our turn. Our master bedroom would be our first DIY shiplap wall. For this project we used 7” baseboard material (with no relief) and flipped it around backwards. We started at the bottom but in hindsight it may have been easier to start at the top, more on that in a minute. We used a table saw to trim the boards to length, two nickels (yes the cents) as spacers and a nail gun with 2” brad nails. In older homes the ceilings/walls can we extremely uneven but nothing that a little (or lot) of caulking can’t fix! Since we were going to reinstall the baseboard on top of the shiplap on the bottom it would have been easier to hide any imperfections in our cutting there and would recommend starting at the top next time.

Now when we say we DIY’ed this, it’s not from start to finish. We cheat and have our painter come in and fill and sand all of the nail holes, caulk the edges of the walls and spray on the paint for a nice smooth finish! The end result was moody and dramatic and just what the room needed!

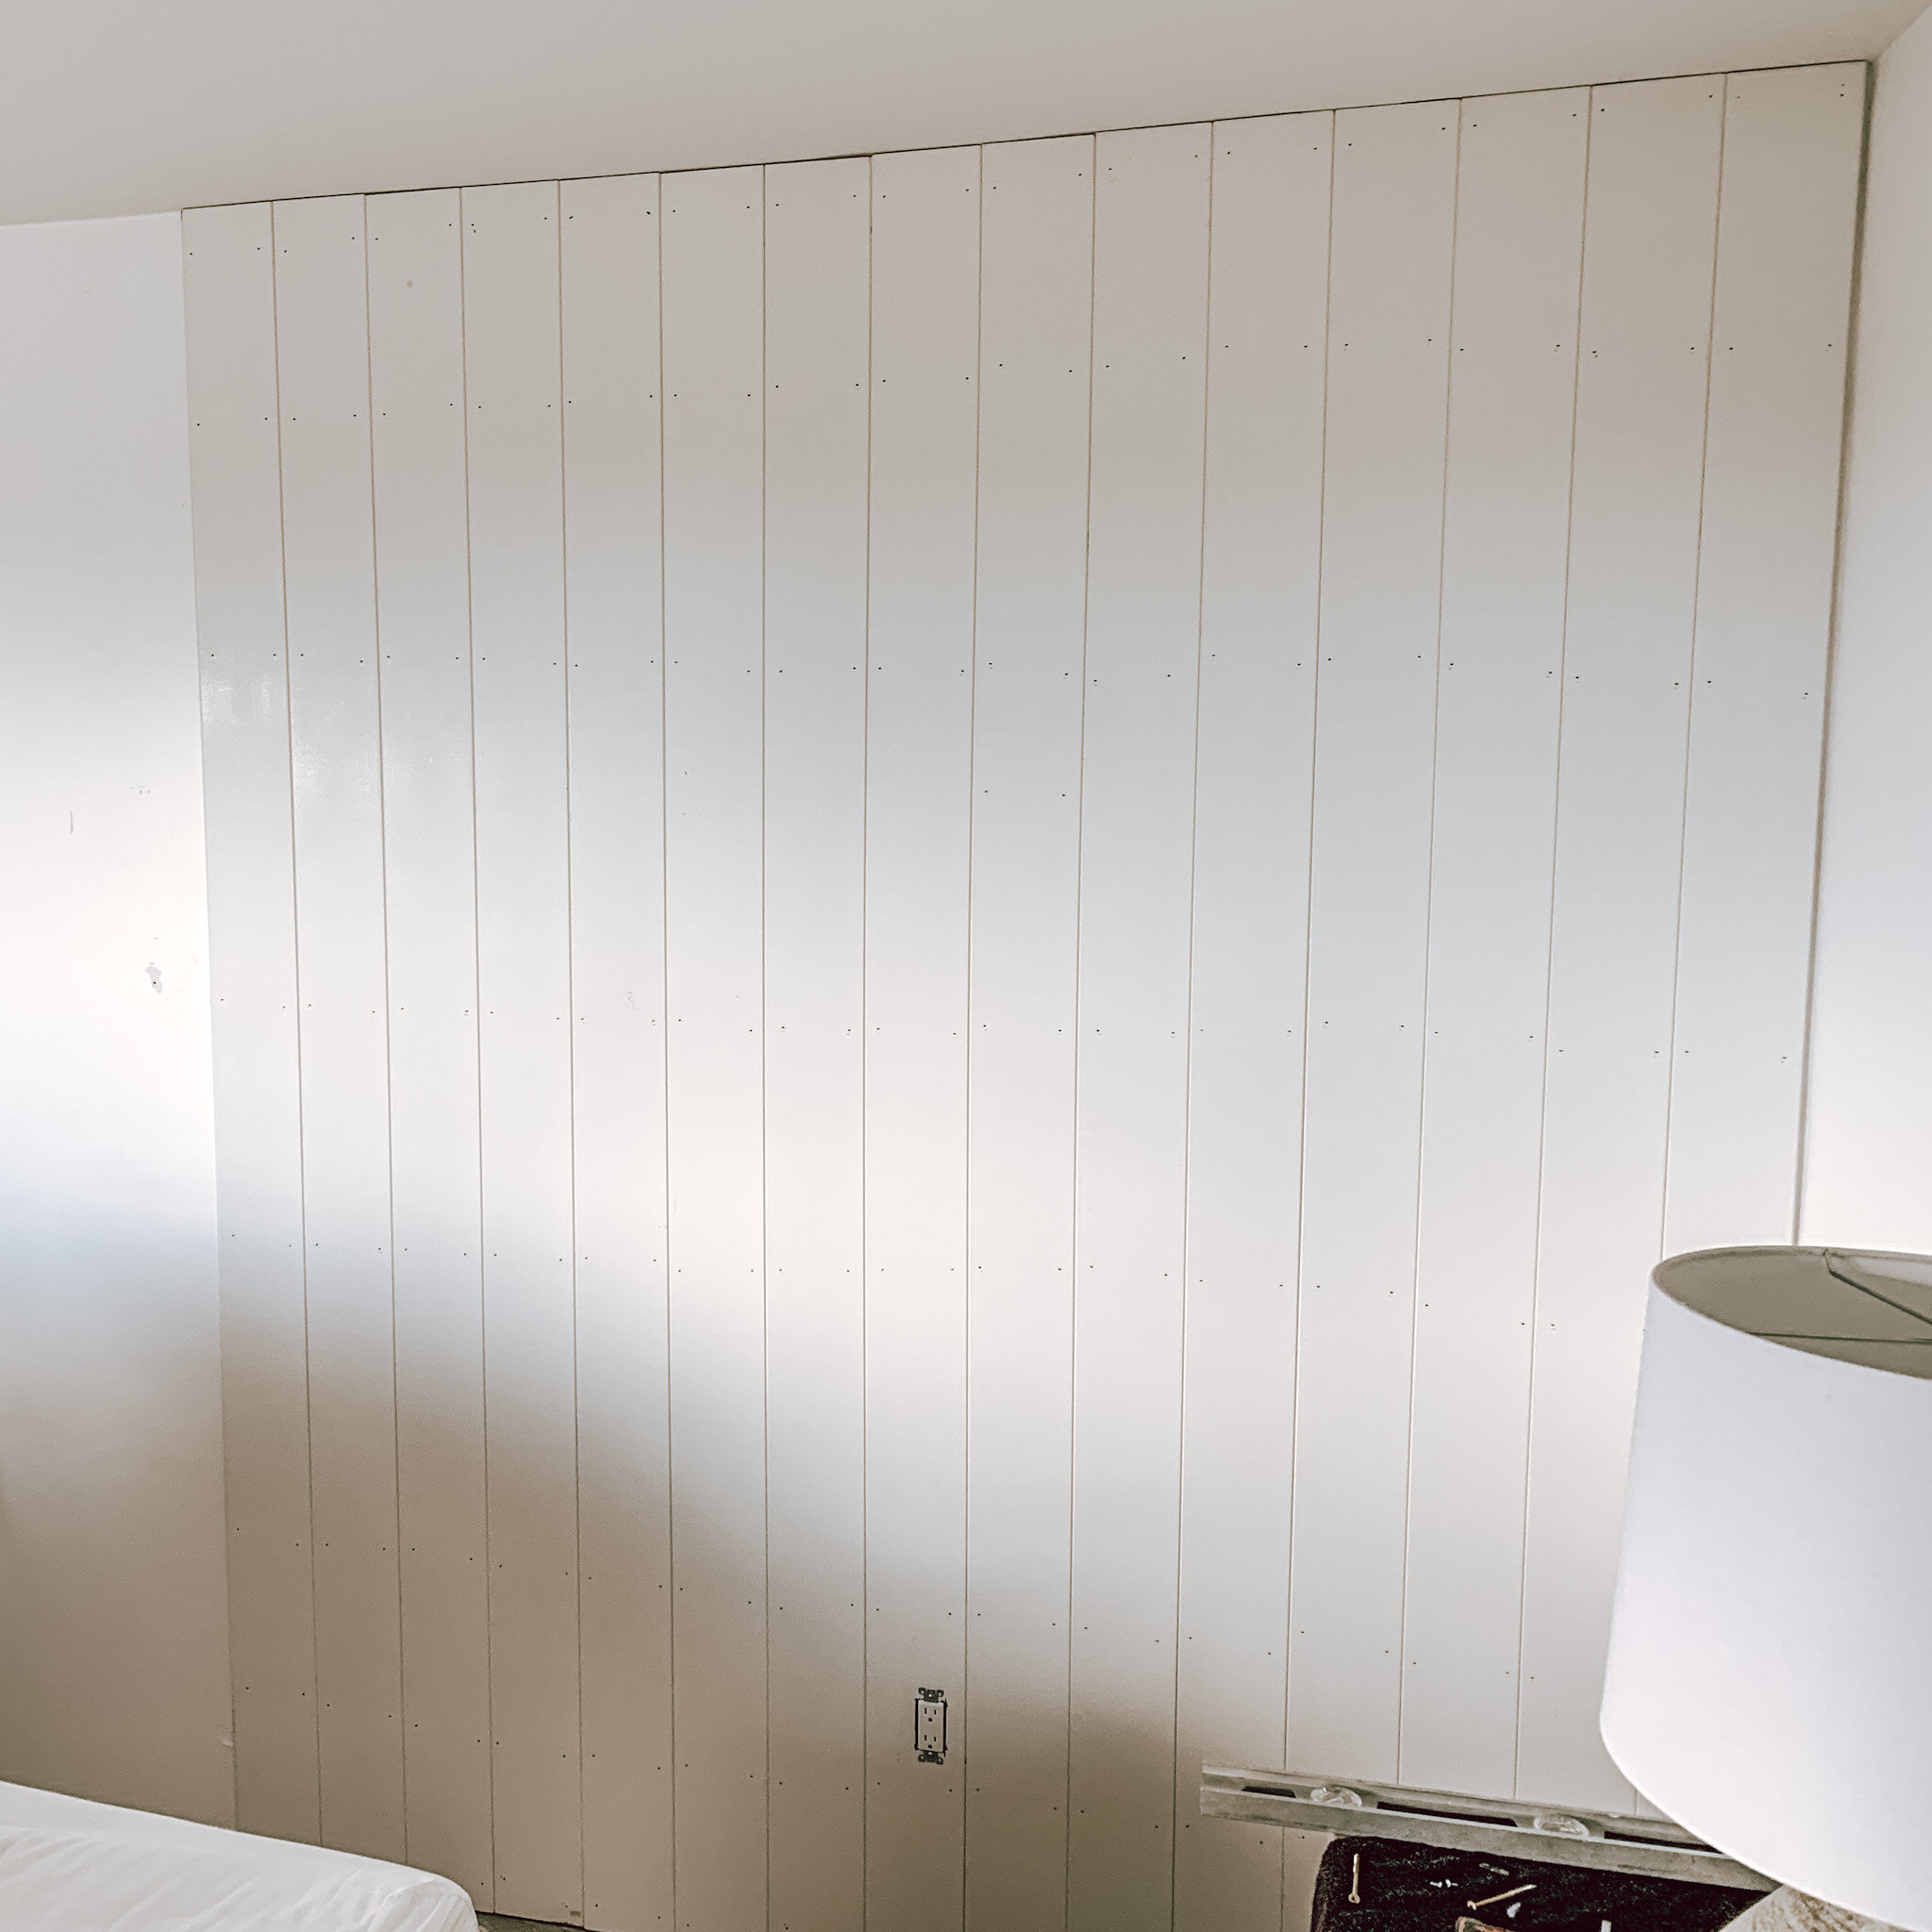
Fast forward to our new #jugadorhill home and we’ve installed three of the five walls that we want to have shiplapped. Of course the designer in me couldn’t repeat what we did in our last house and we also wanted to make it easier on ourselves so this time we’re installing vertical shiplap with tongue and groove material (which costs a little more than using baseboard material).

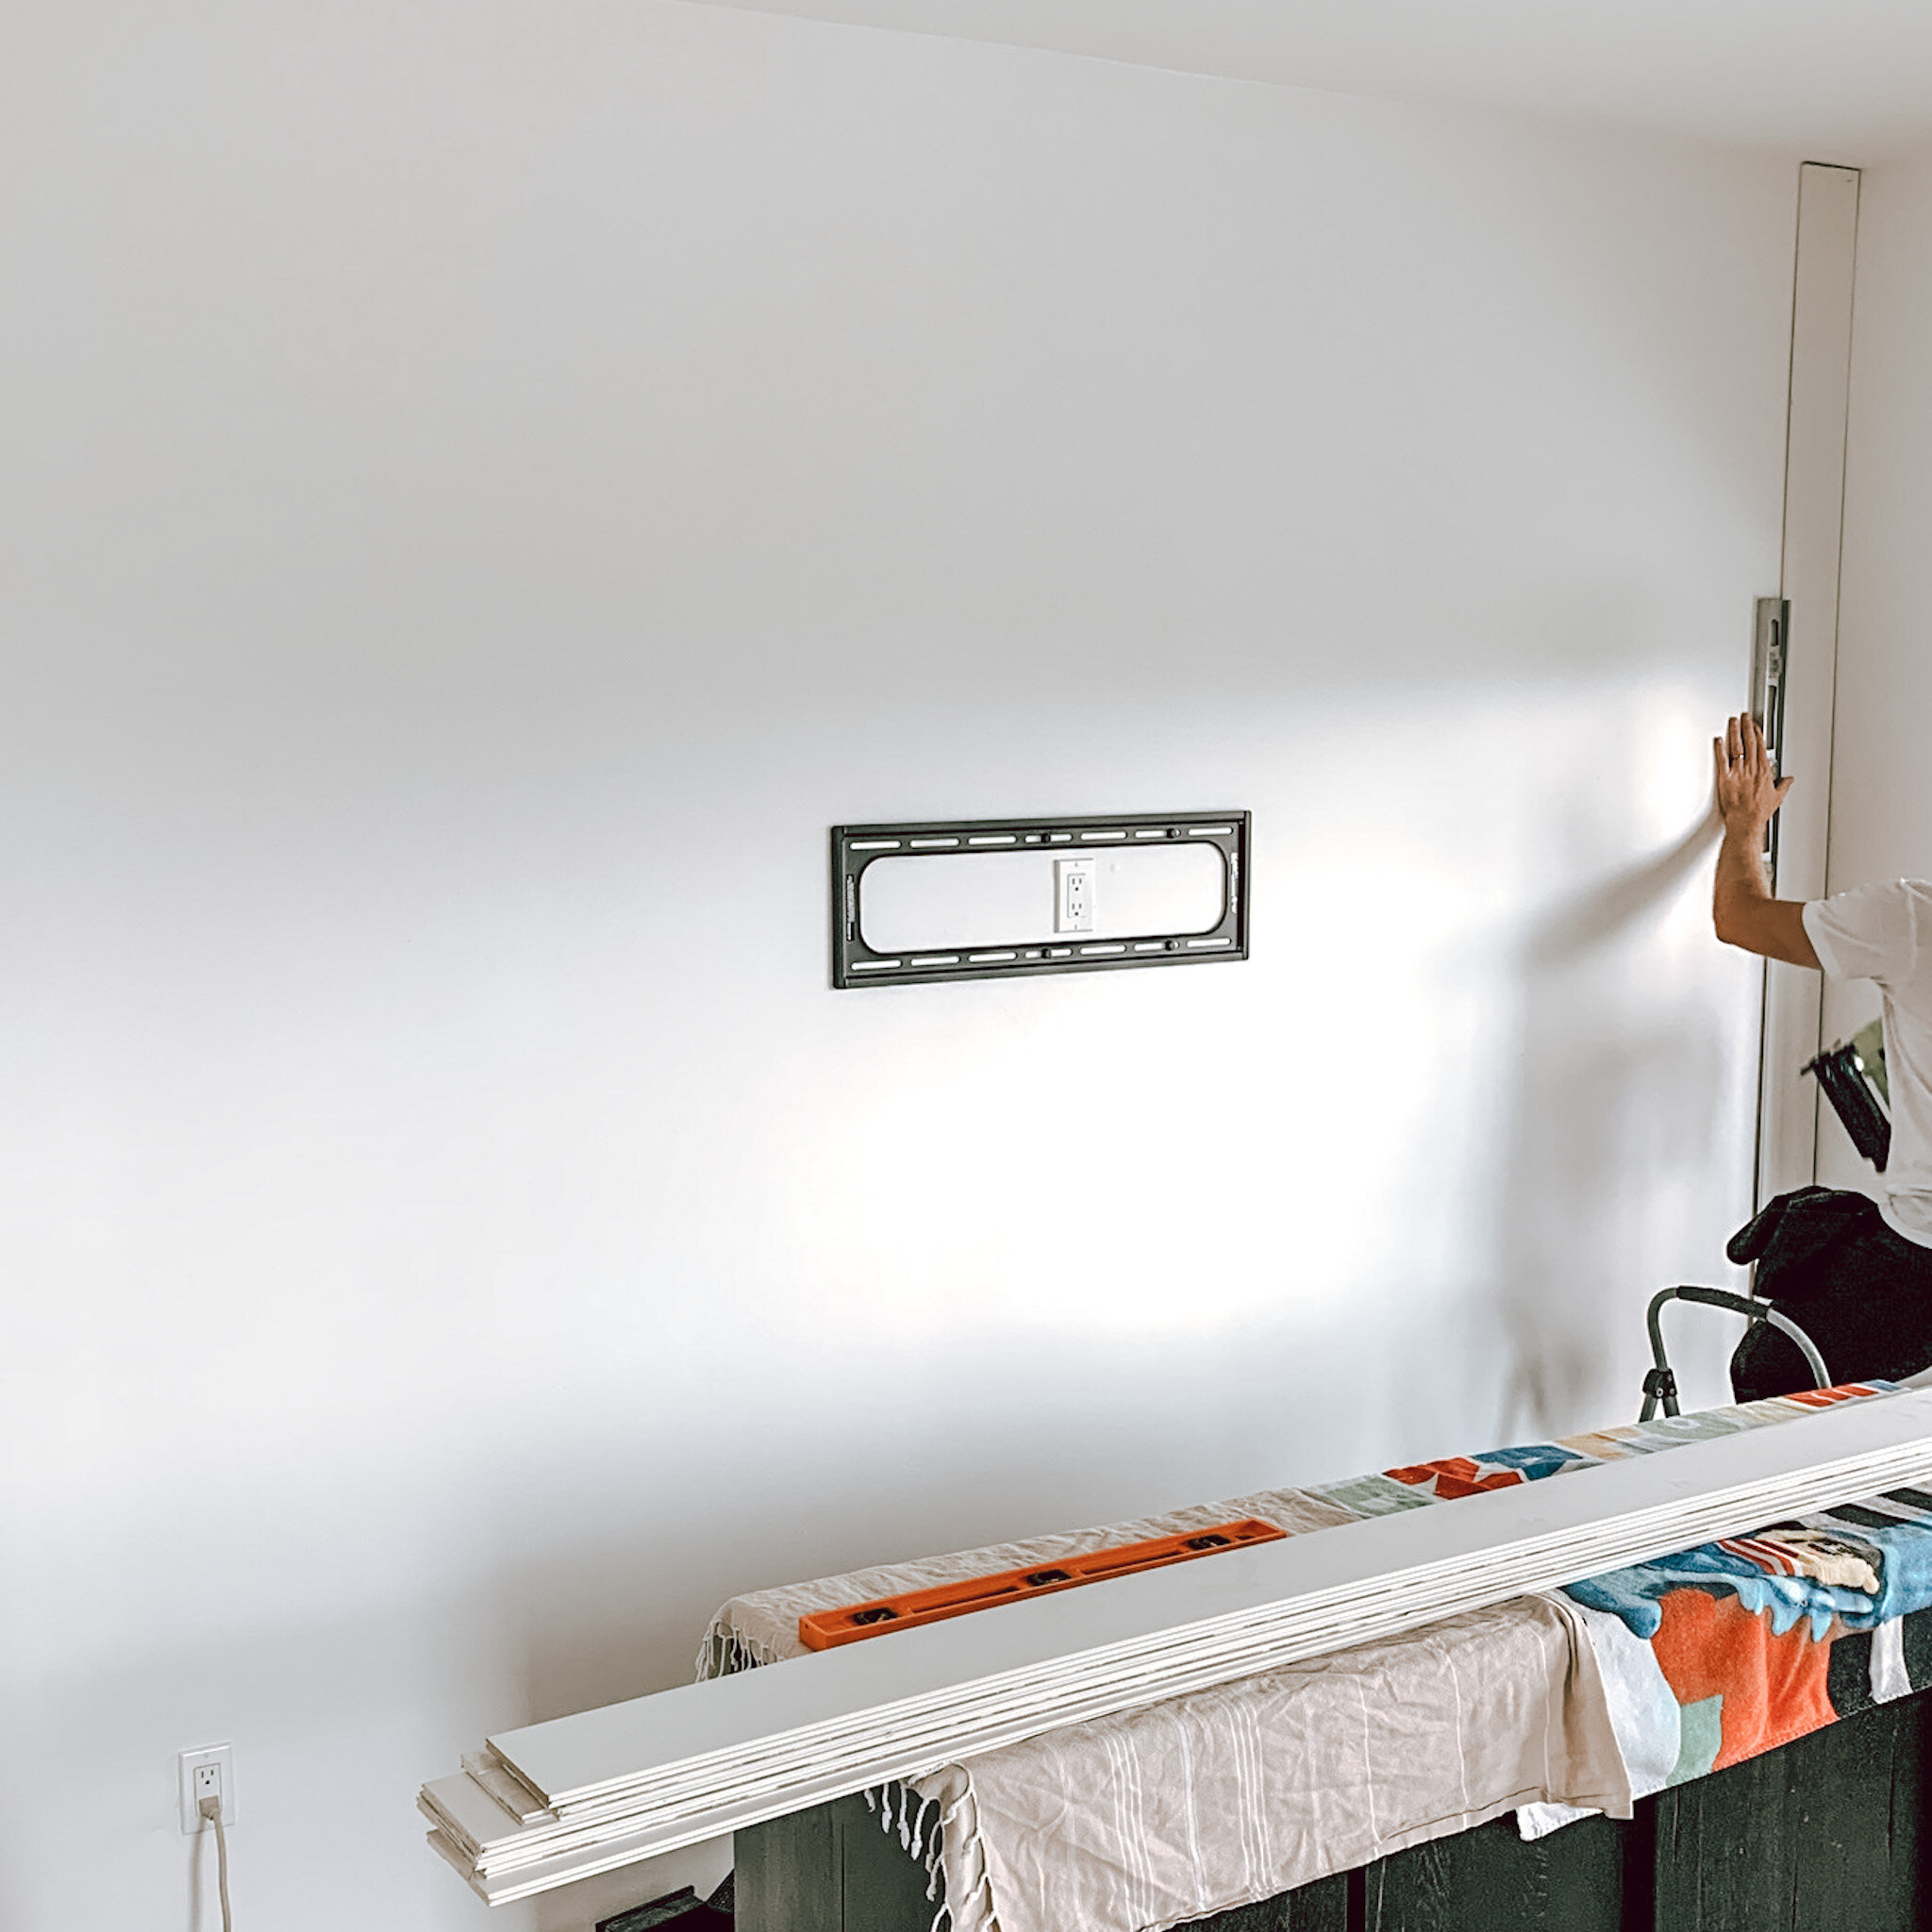
Step 1: If you are laying the boards horizontal use a stud finder to pre mark the walls where the studs are and that is where your nails should hit. If you are laying the boards vertical we spaced nails out every 18'“ or so (you can just eyeball this). Also, be sure to be mindful of any plumbing that may be behind the walls you are nailing in to.
Step 2: Be sure to align the first board flush and level to wherever you are starting to ensure the rest of the wall is lined up. Use the level down the entire length of the board to ensure it’s continuously level all the way down. Really take your time here!
Step 3: Click in your second board and each board thereafter using the level the entire length of each board. Tip - we had to use a hammer to tap the level a smidge in some areas to help the shiplap tongue click in to the next groove fully.
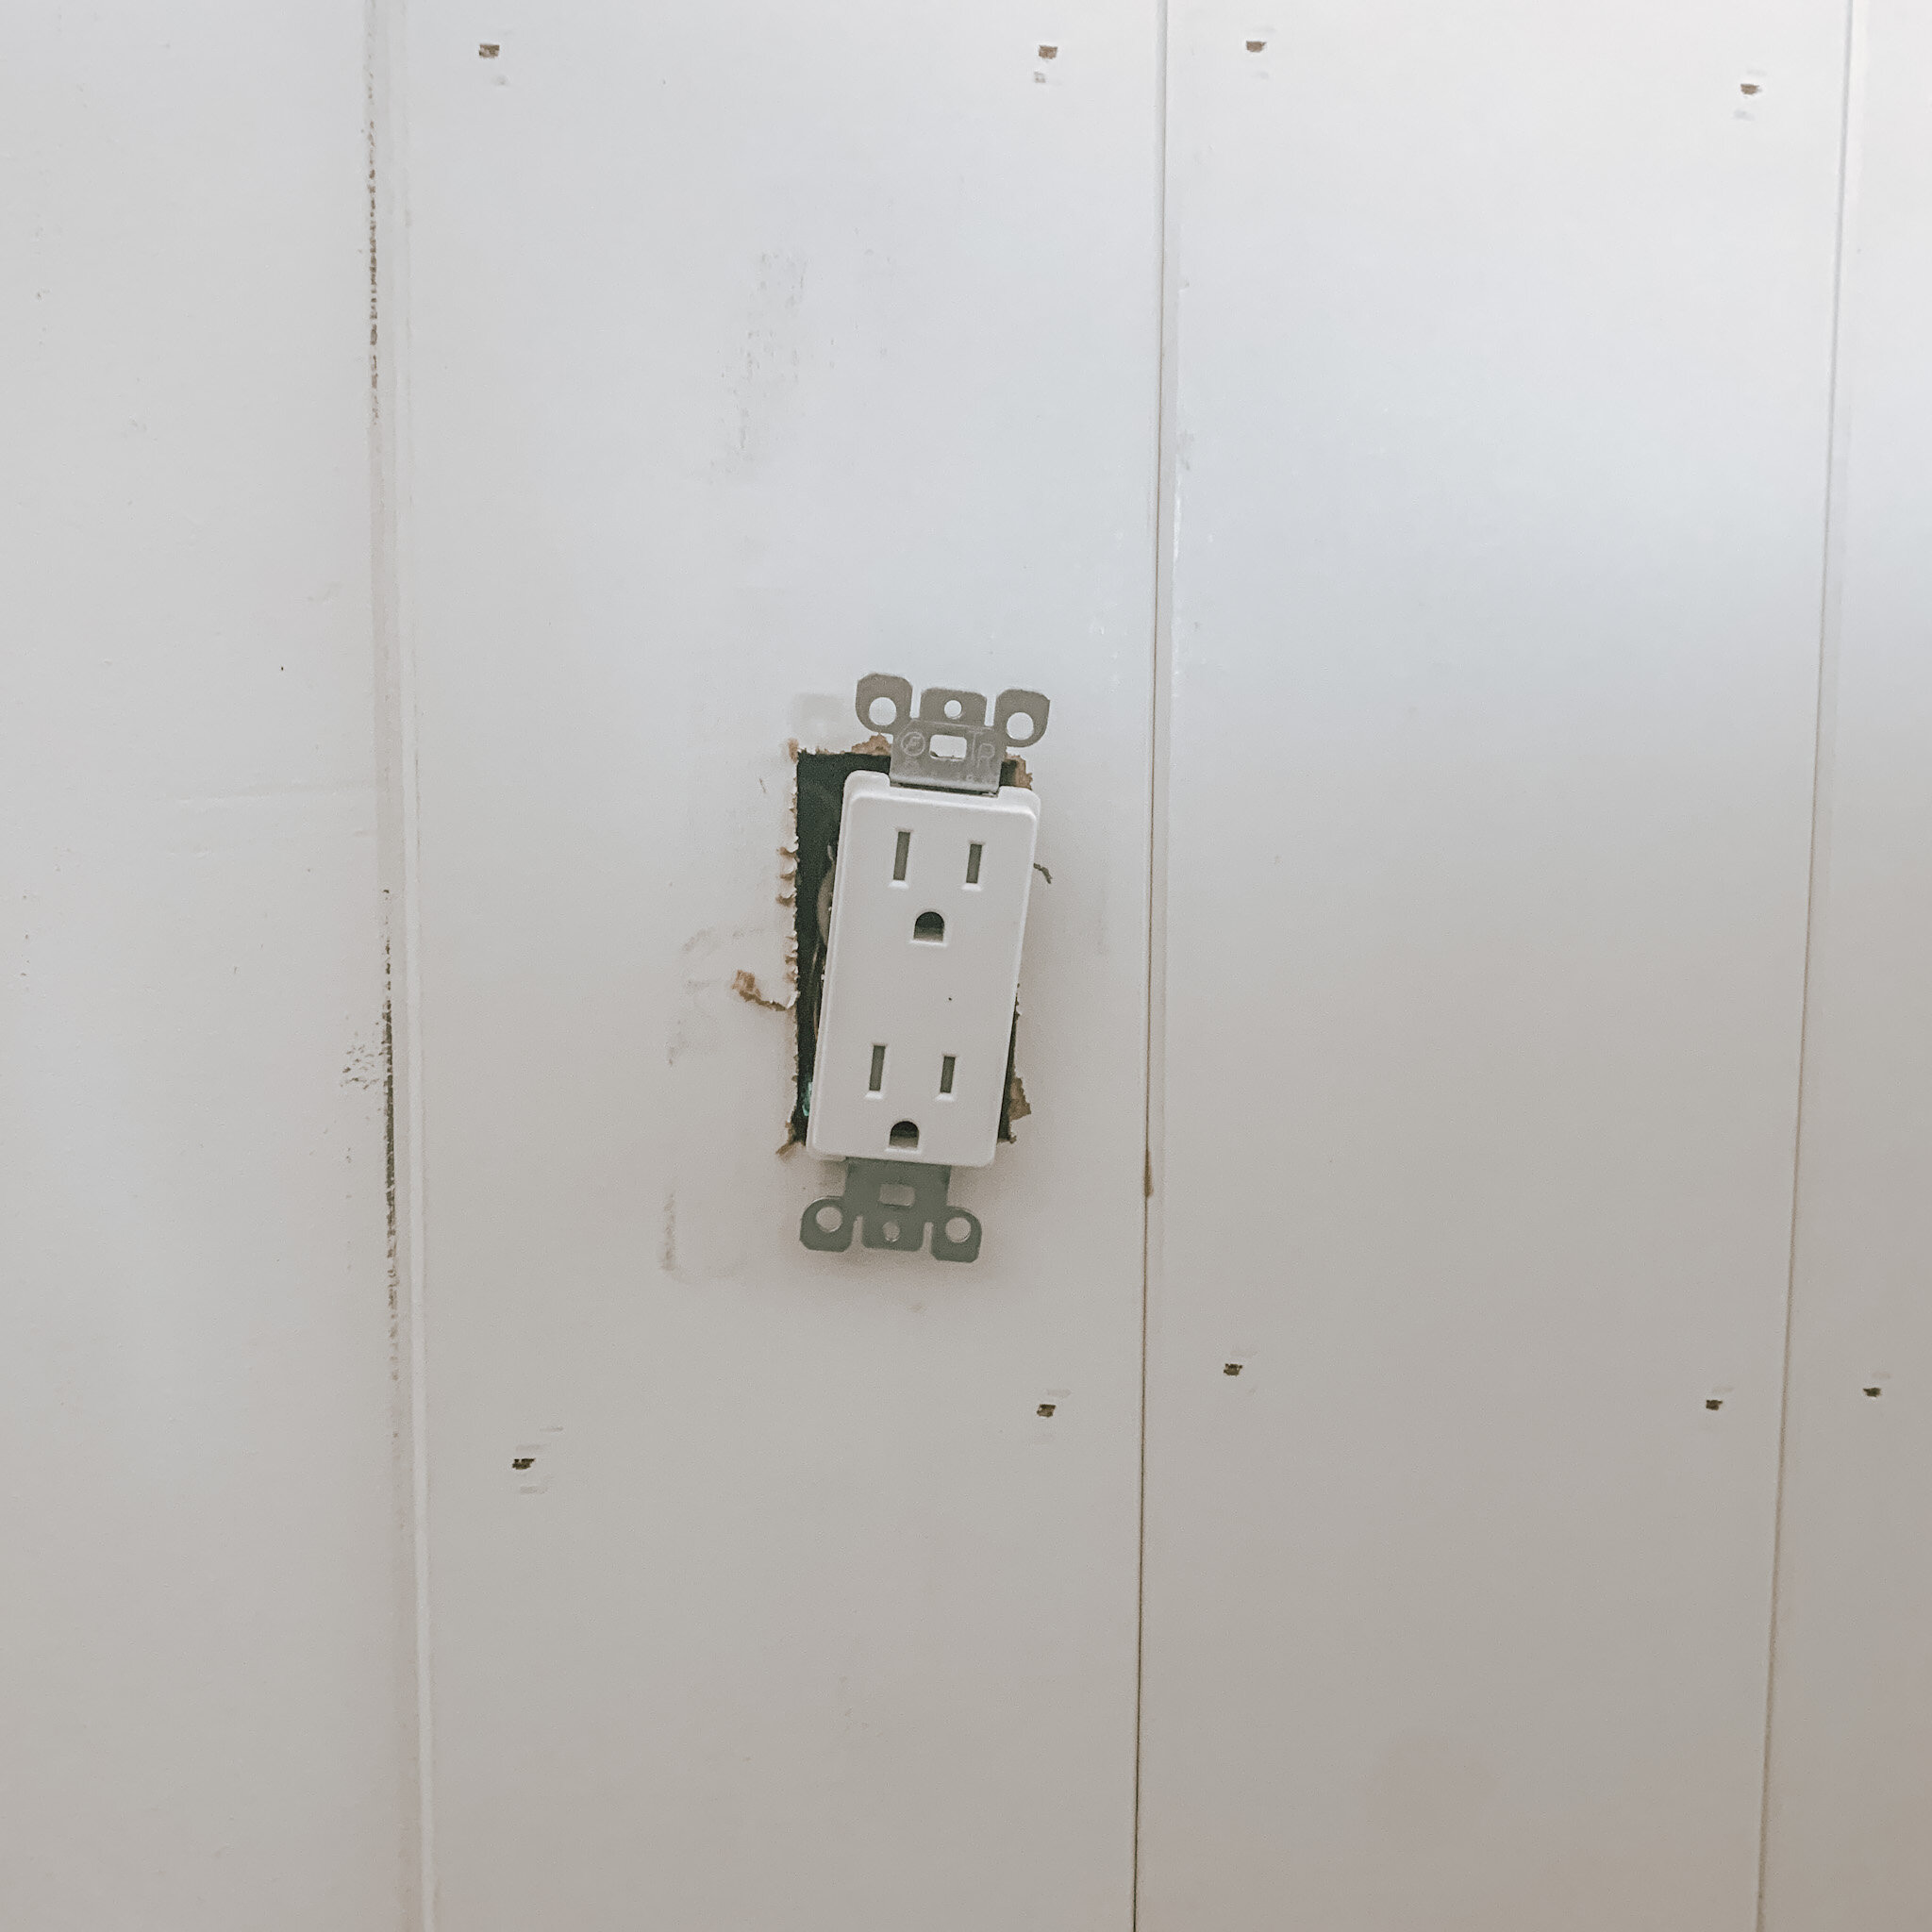
Step 4: Once you come to an outlet do your best to mark the outline of the outlet (not the face plate) and use a jigsaw to cut it out. This can be tricky and we didn’t worry much about it because usually they are hiding behind furniture anyways. (Don’t forget to turn off electricity to the outlet, we’ve learned that the hard way a few times!)
Step 5: Depending on how your wall lays out you may need to use a saw to trim your last piece (if you’re laying horizontal, this is where ending at the bottom comes in handy).
Step 6: Caulk, fill and sand all of the nail holes and we always use a spray application for the paint so there is a nice smooth finish.
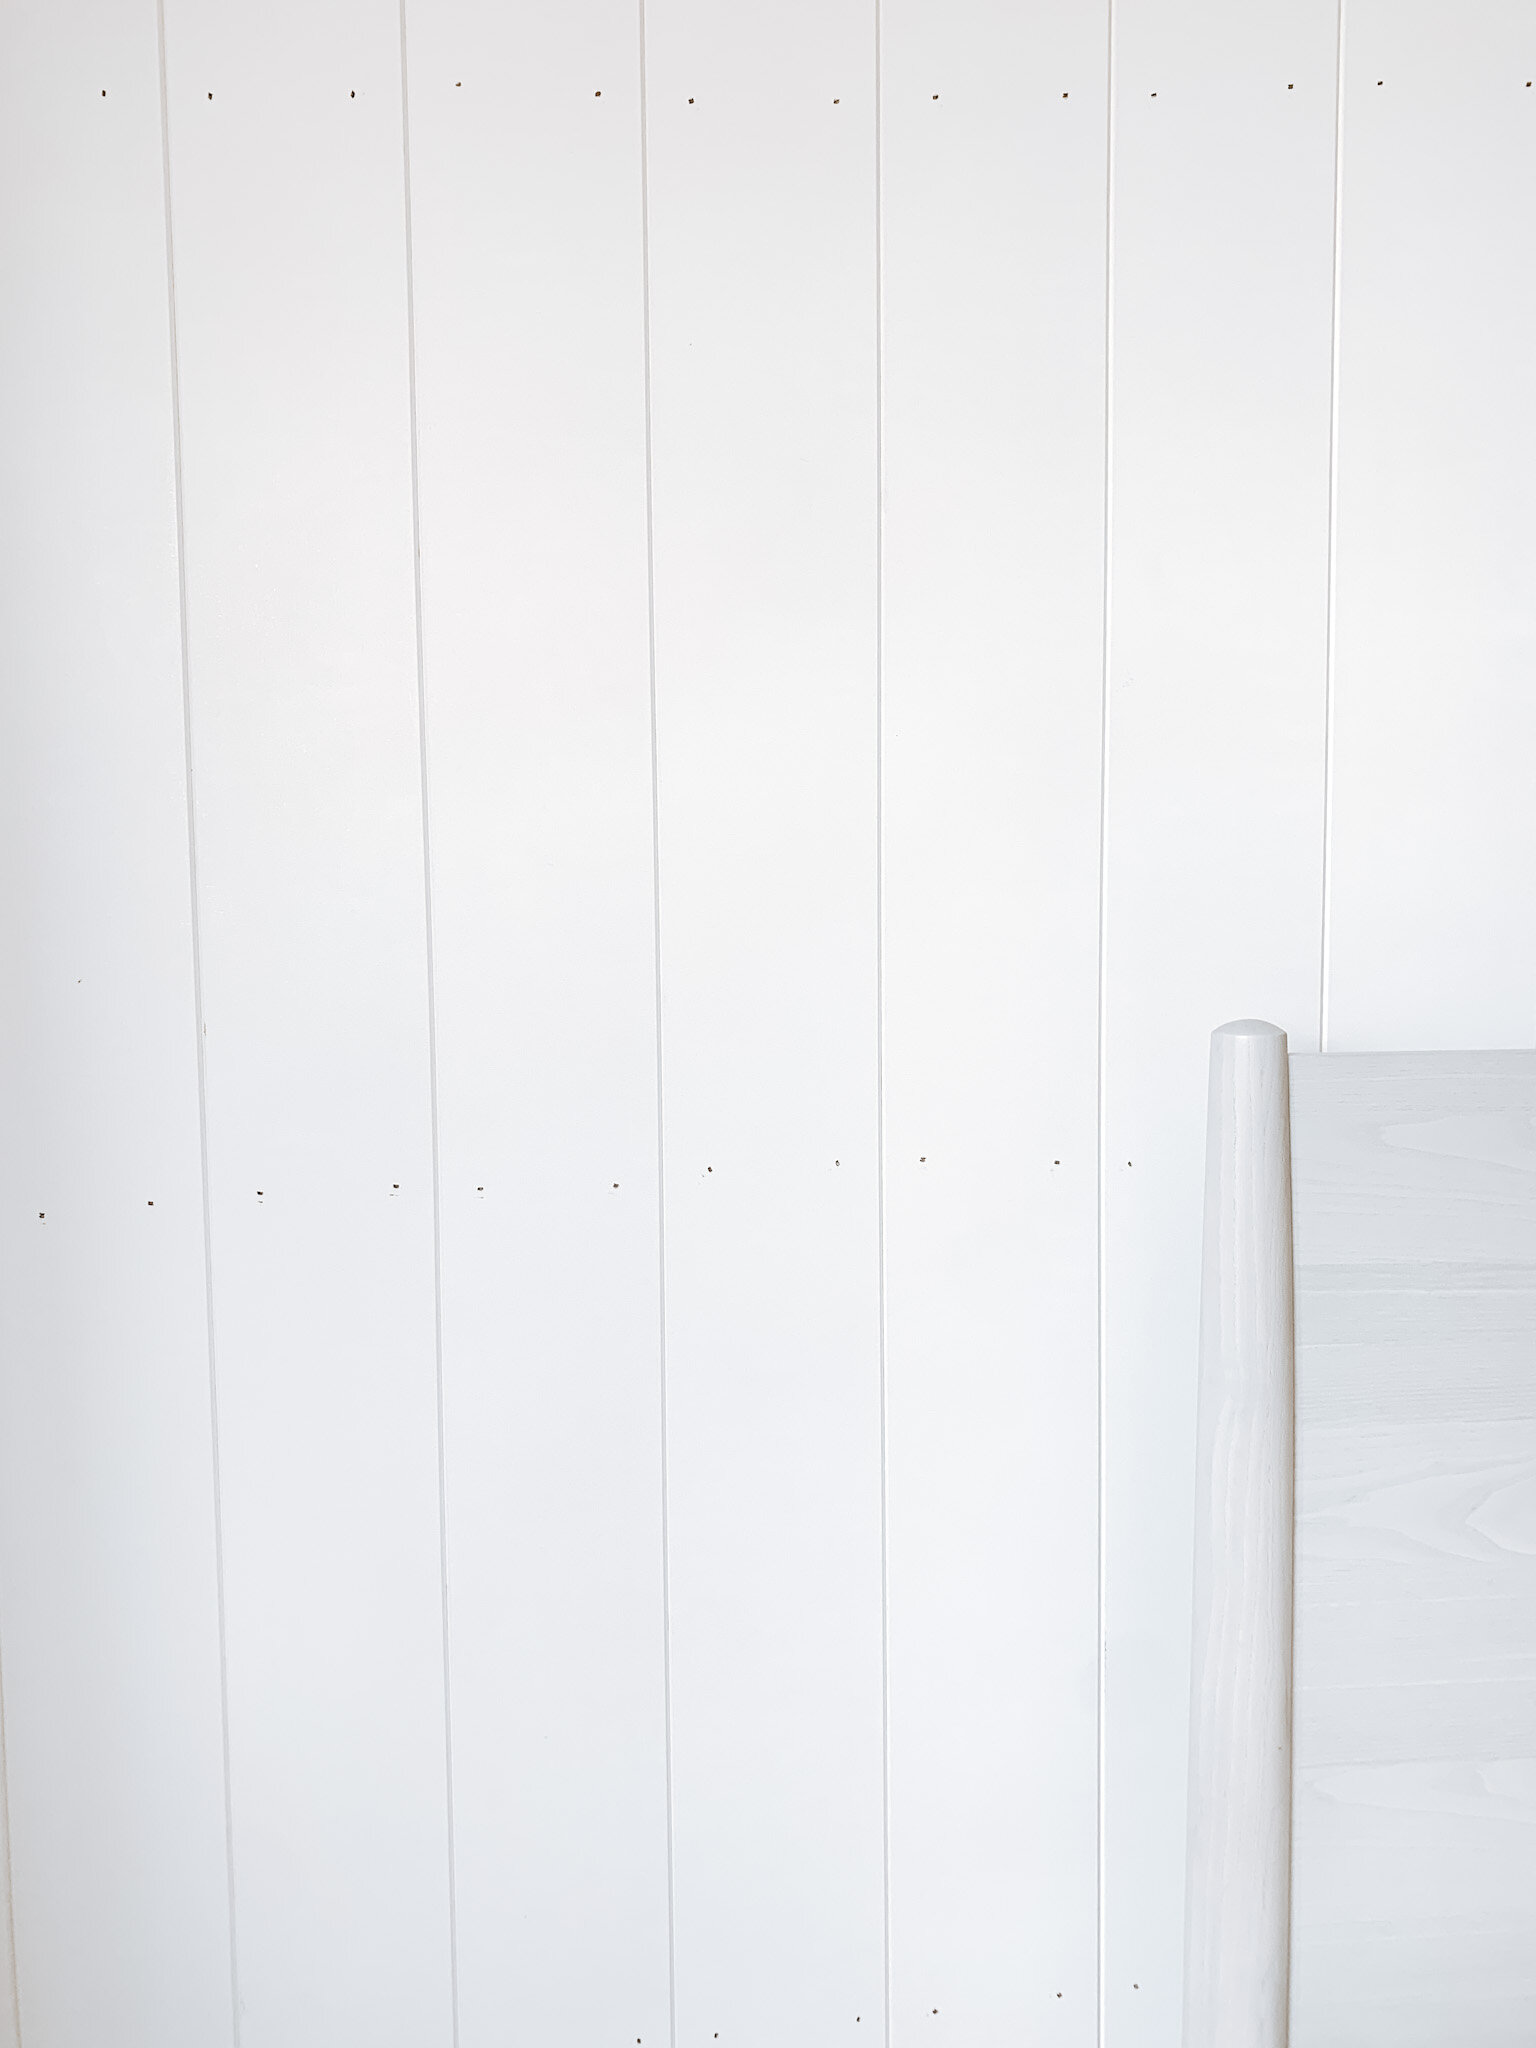
We are waiting until we finish installing all of the walls in the house then we will call in our painter. Can’t wait to show you the reveals! Until then here is our daughters room and I am obsessed with the subtle texture the wall adds to the space! For more details check out our Shiplap DIY IG highlight here.

For more real estate and design tips like these, subscribe to our blog below!